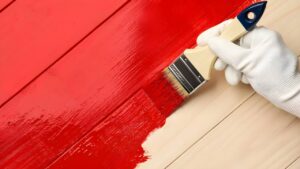
Can you paint on top of polyurethane? Yes, you can paint over polyurethane with the proper preparation.
The main thing is to make sure the surface of the polyurethane is adequately prepared so that the new paint can stick properly.
These paints are known for their durability, mold resistance, and ability to give a new look to old wood. For a more eco-friendly option, Montage Signature Interior/Exterior Paint is a good choice.
What is Polyurethane?
Polyurethane forms a hard, durable topcoat that is applied to many materials, such as kitchen cabinets, to protect wood from scratches and wear.
It can also be found on wood floors, doors, and furniture.
Polyurethane creates a high-gloss finish, and it’s usually applied in multiple coats to ensure a strong barrier is formed.
Repainting kitchen cabinets with this finish is the most common challenge for DIYers, so we’ll focus on that type of project in this article.
Recommended Supplies for Painting over Polyurethane
Along with a little effort, making sure you have everything you need will make your project much easier and result in a project you’ll be happy with.
Some common supplies used for painting over polyurethane include:
- Clean, lint-free cloth
- Mineral spirits
- Wood filler
- Protective face mask
- Gloves
- Protective eyewear
- Fine-grade sandpaper
- Liquid sandpaper (optional)
- Paintbrush
- Oil-based primer
- Oil-based paint
- Protective eyewear
How to Paint Over Polyurethane?
Many homeowners wonder if they can paint over polyurethane without sanding. Although sanding is the most tedious part of this project, it is also the most important.
Although these how-to painting steps are for kitchen cabinets, they can also be applied to wood floors, doors, or furniture that have a polyurethane finish on them.
Step 1: Safety First
Always read the labels of the products you are using and follow the recommended safety guidelines.
If the product calls for it, wear protective gear such as gloves, masks, and eyewear to protect your hands, lungs, and eyes. Whether you’re sanding or painting, always work in a ventilated area.
Step 2: Remove cabinet doors, drawers, and hardware
- Remove cabinet knobs and other hardware.
- If you only have a few cabinets, you can leave the doors as is; otherwise, remove them.
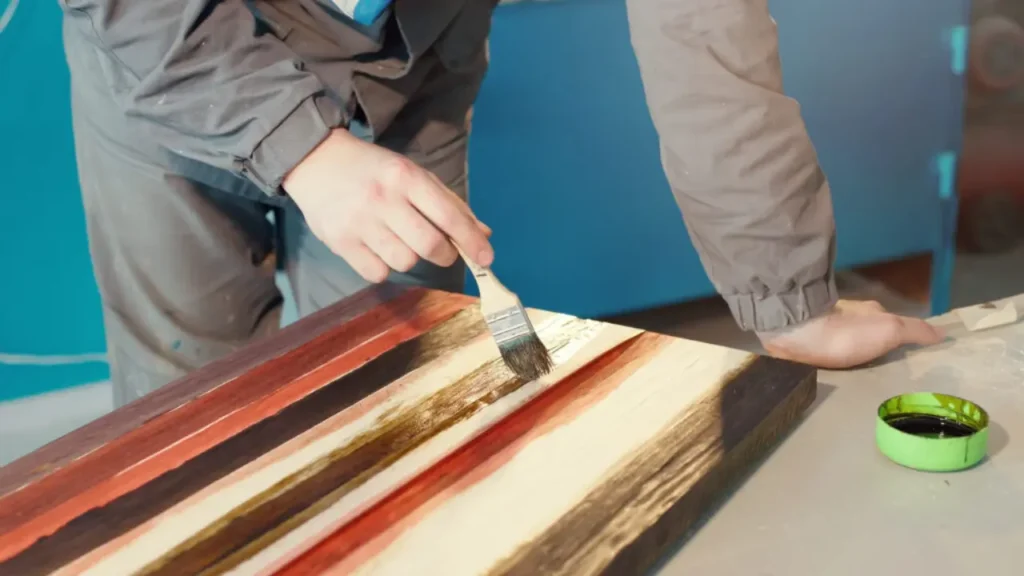
Step 3: Clean and Sand the Surface of the Kitchen Cabinets
- Use mineral spirits to clean the cabinets, wiping them in a circular motion with a clean cloth or rag.
- This will remove dirt, grime, and stains from the doors, improving the paint finish.
- Use wood filler to fill any gaps or scratches.
- Sand the wood surface: Use a fine-grade sandpaper to remove the polyurethane from the cabinet doors.
- You don’t need to remove it all, just enough so that the new paint will adhere to the wood.
- Continue to remove any dust with a clean cloth and mineral spirits.
- Take your time; this is a very tedious part of the project, but it is the most important step in preparing the surface for paint
- Liquid sandpaper also works well as an alternative to removing polyurethane topcoats from cabinet doors.
- Apply it following the instructions on the bottle.
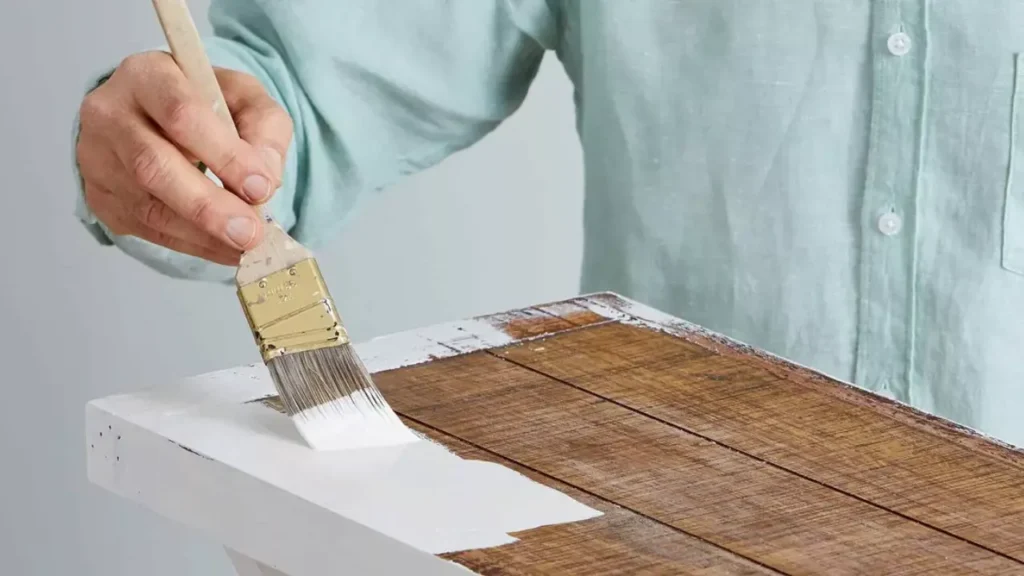
Step 4: Prime the surface
Apply an oil-based paint primer. Using a primer will give your paint a better surface to adhere to. The primer also prevents any stains on the wood from coming through the paint.
Allow the primer to dry overnight for the best results. If any wood grain or stain shows through the primer, it may be necessary to apply another coat.
Step 5: Paint the Surface
- Paint the first coat and let it dry overnight.
- Apply a second coat to ensure the cabinet doors are completely painted.
- Let this coat dry for 72 hours before adding any hardware.